To use the Bunny Storage for WooCommerce plugin a bunny.net account is required.
Popup
Please click on the Bunny Storage button to open the popup.
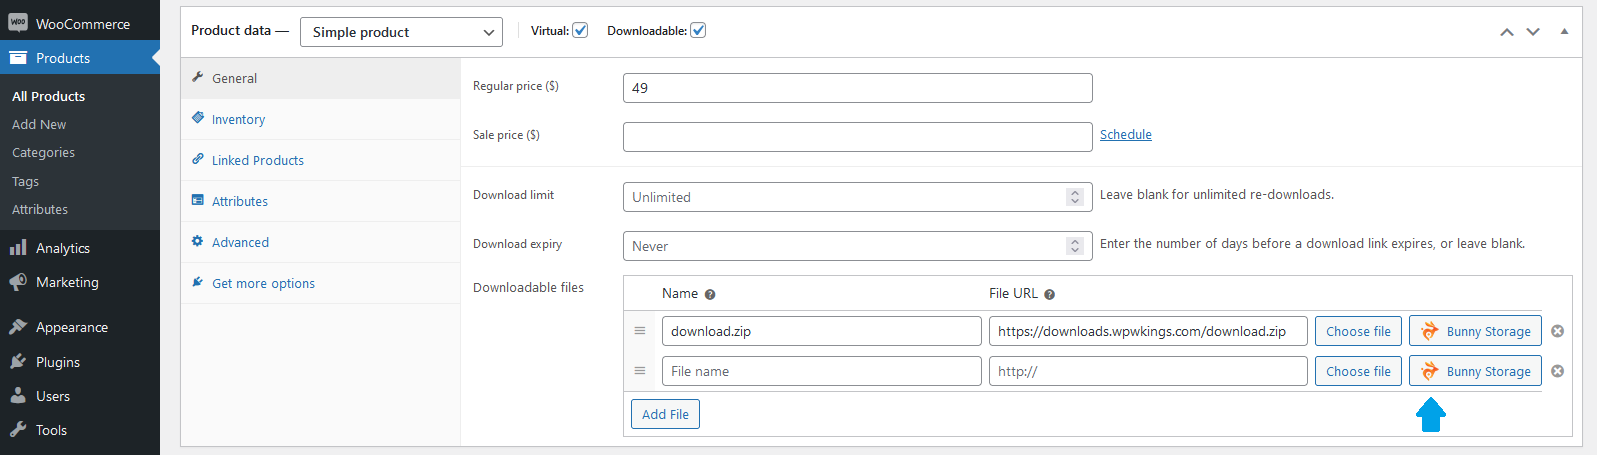
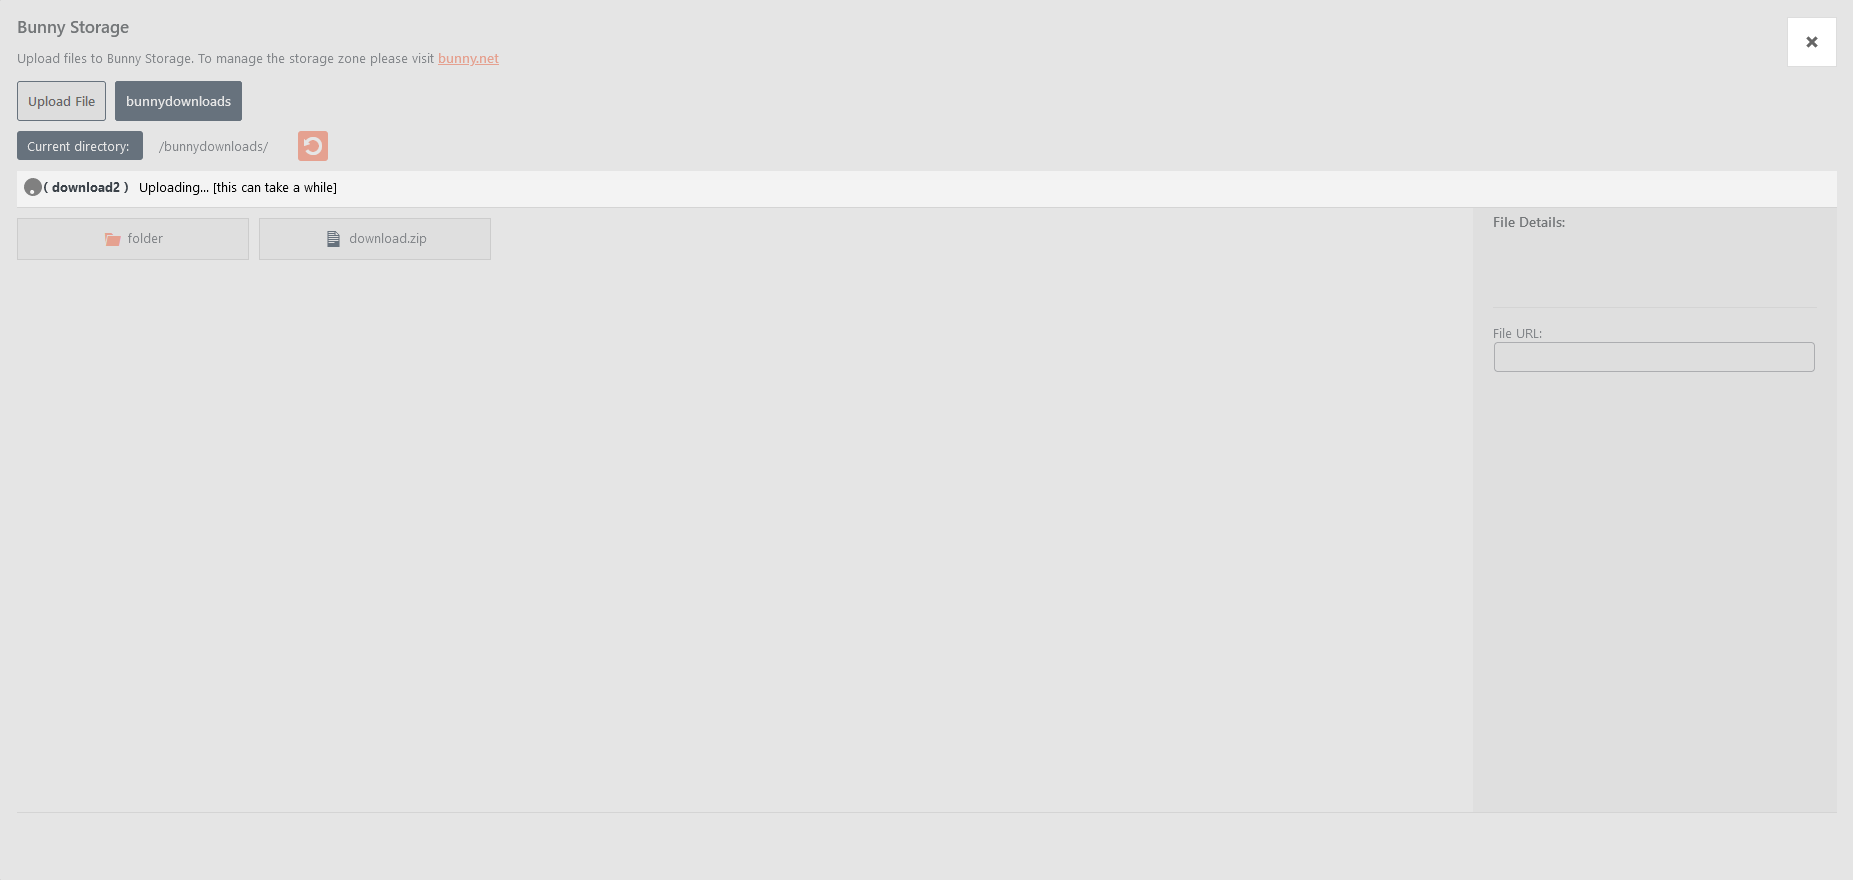
To upload a file, please click on the ‘Upload File’ button.
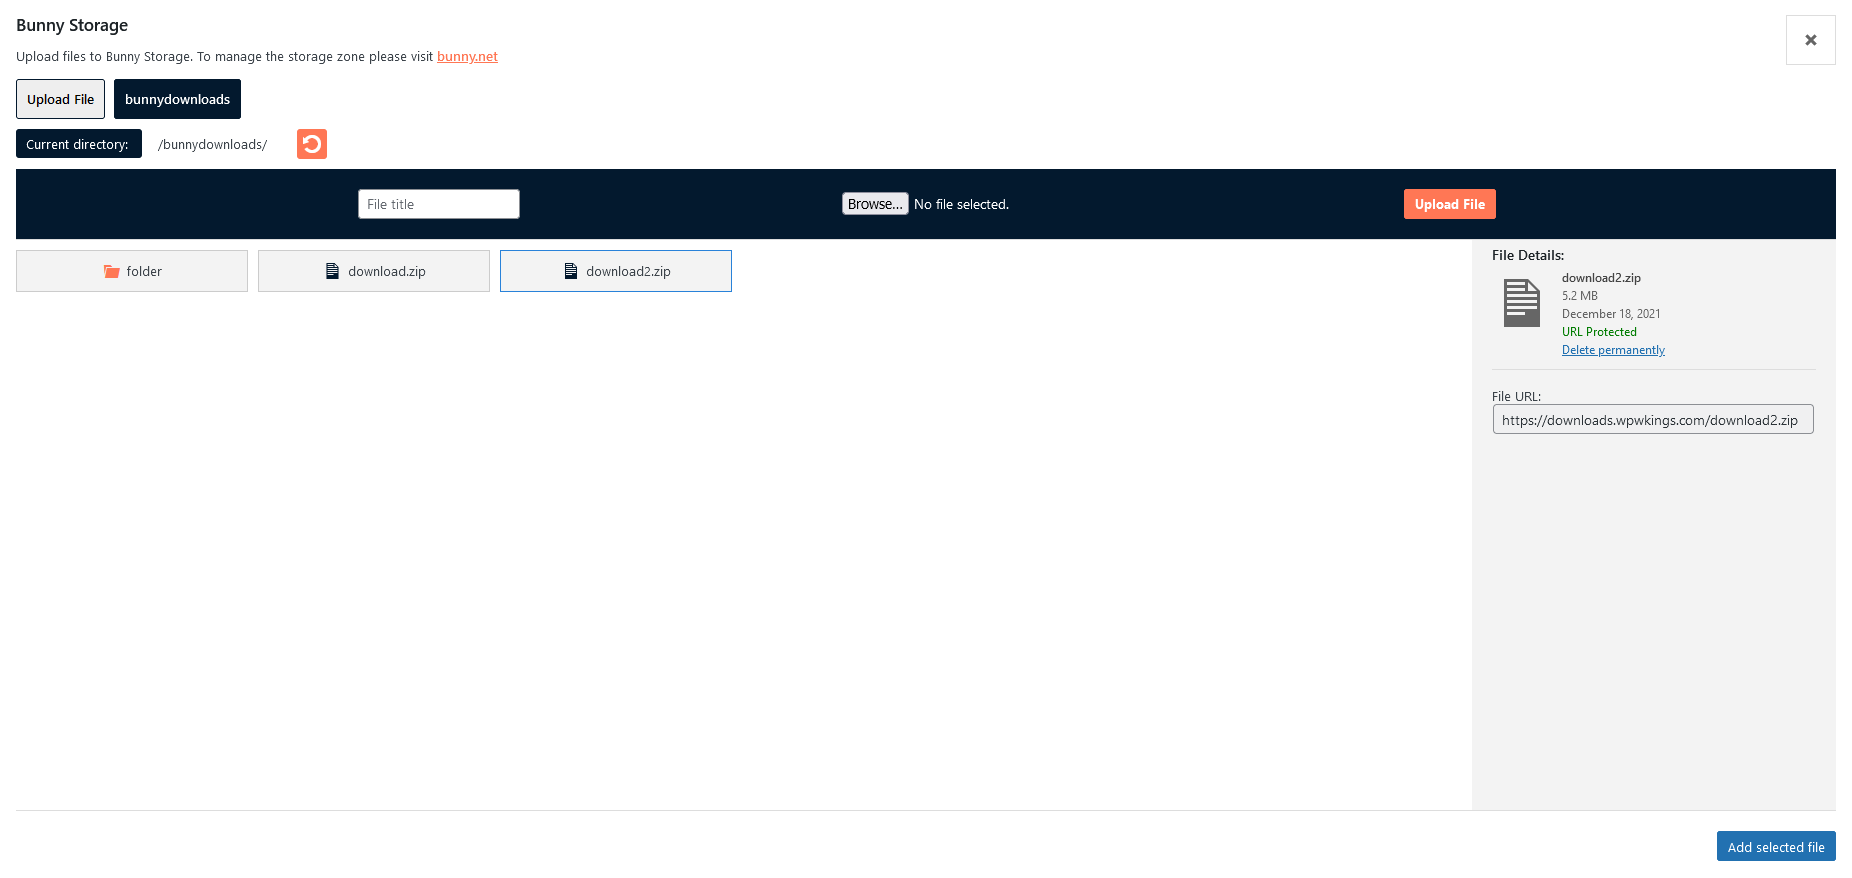
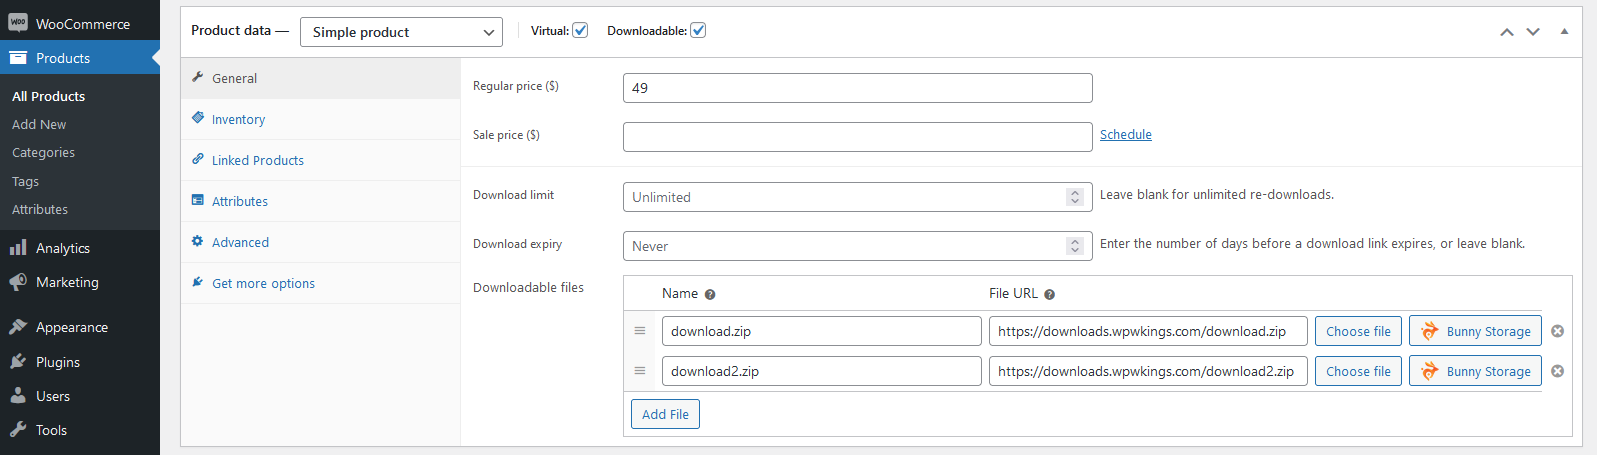
Once a file is selected, it can be added as a download to the WooCommerce product by clicking on ‘Add selected file’.
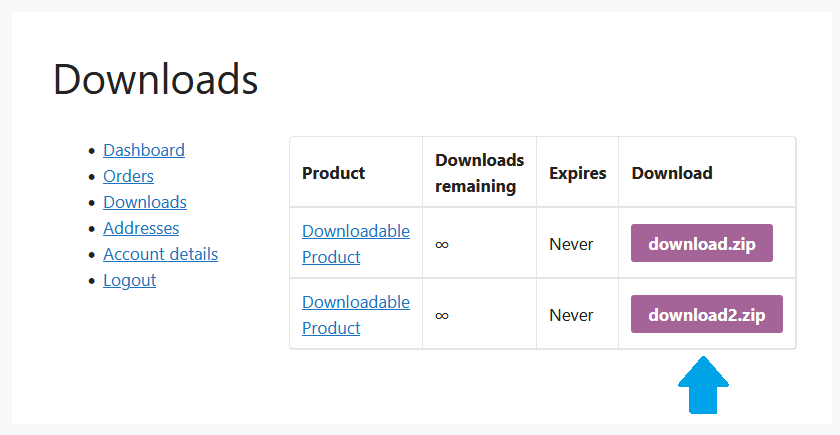
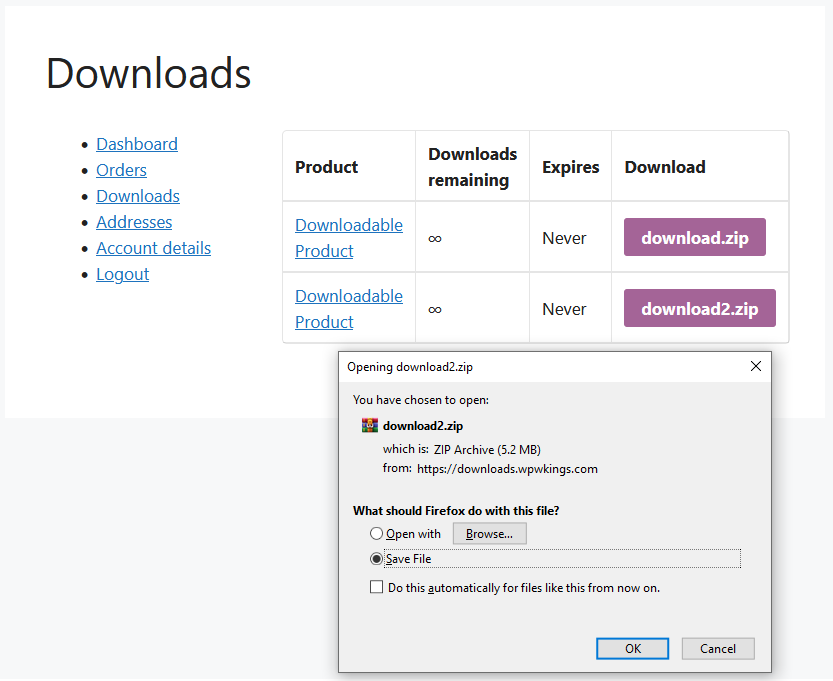
Downloading Files
Users who have purchased the WooCommerce product can download the file from their account page.
The URL can be signed with a unique token to give temporary access to the file. For more information, please see this article.
If you would like to use a custom hostname instead of the standard ‘b-cdn.net’ hostname, please see this article.
Was this article helpful?